



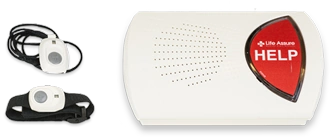
At Home Unit Support
Setup And Support Videos
 How To Adjust Lanyard Length
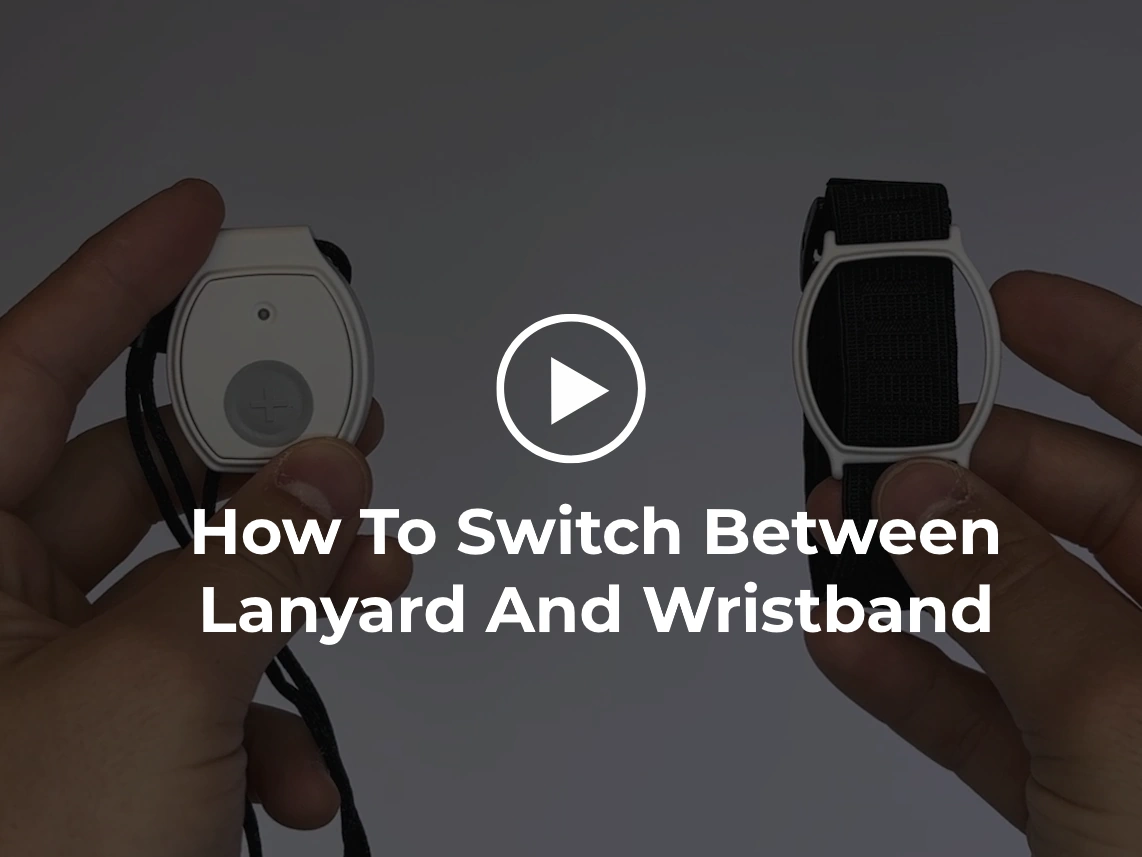 How To Switch Between Lanyard
And Wristband
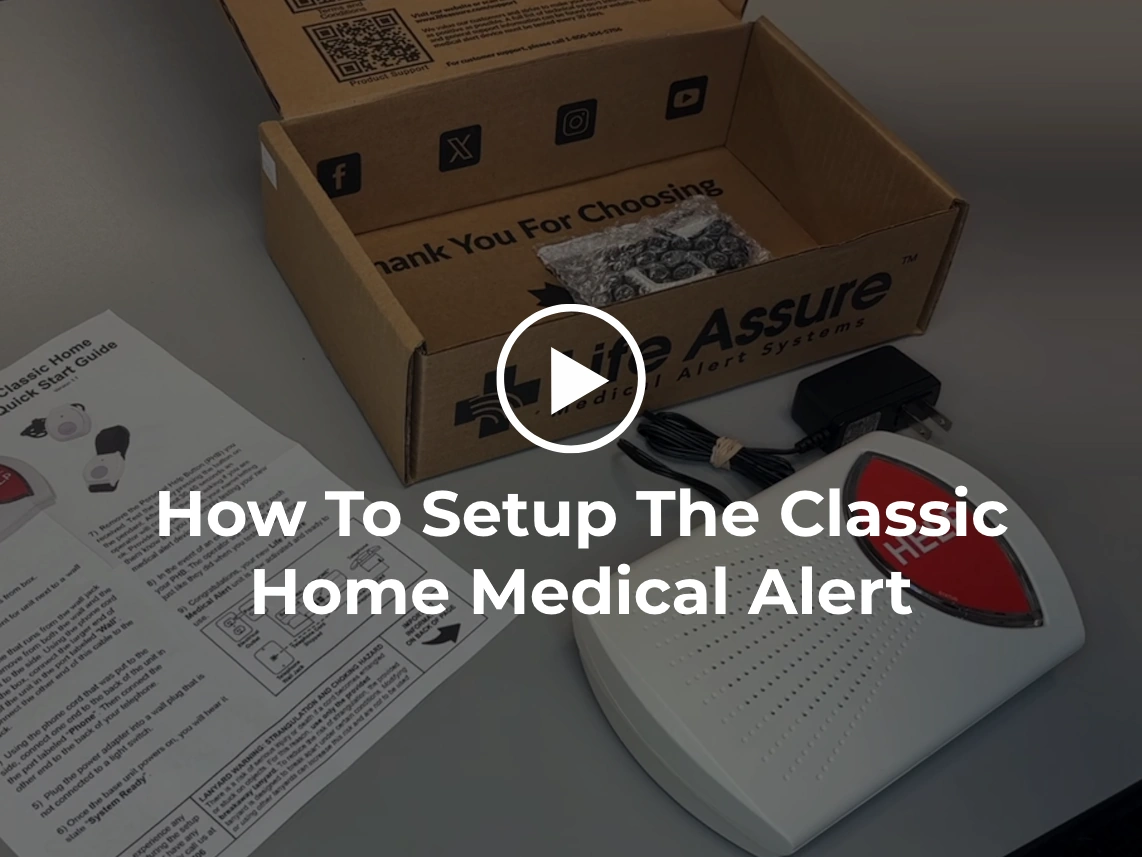 How To Setup The Classic Home
 Medical Alert
Find A Solution

1. Initial Setup
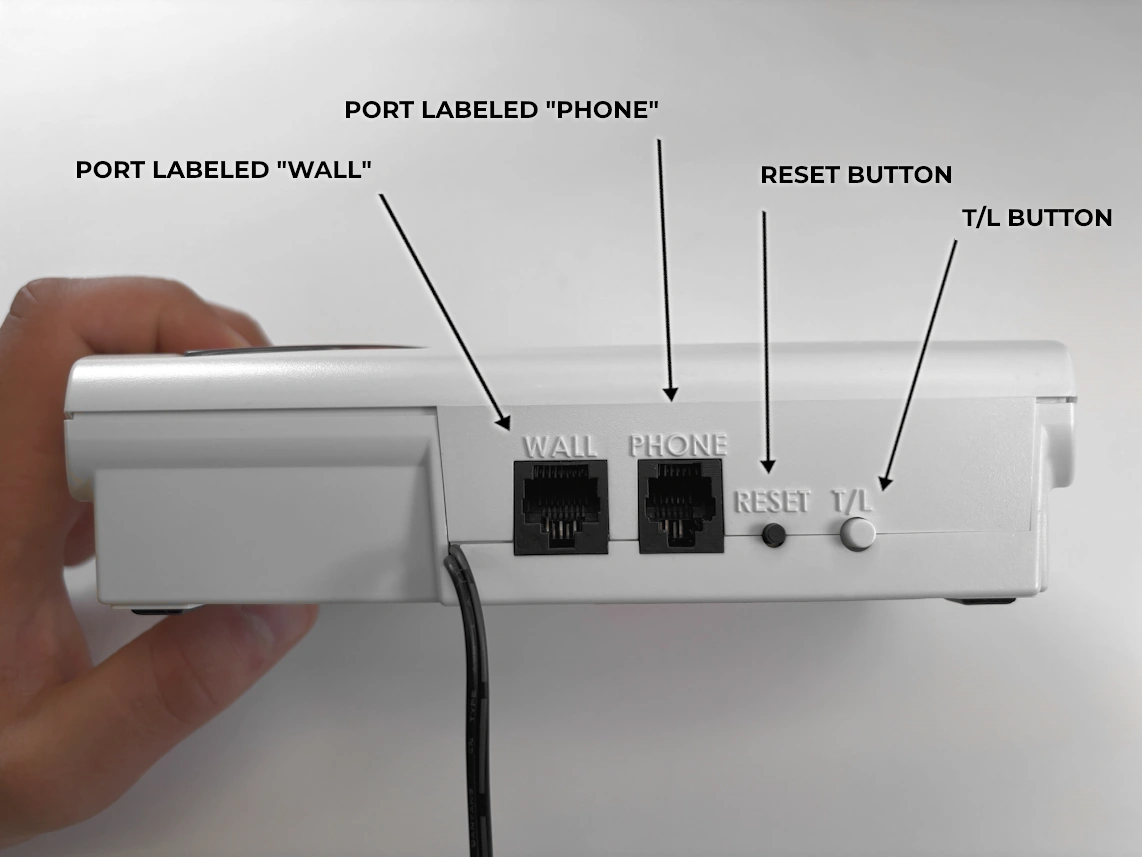
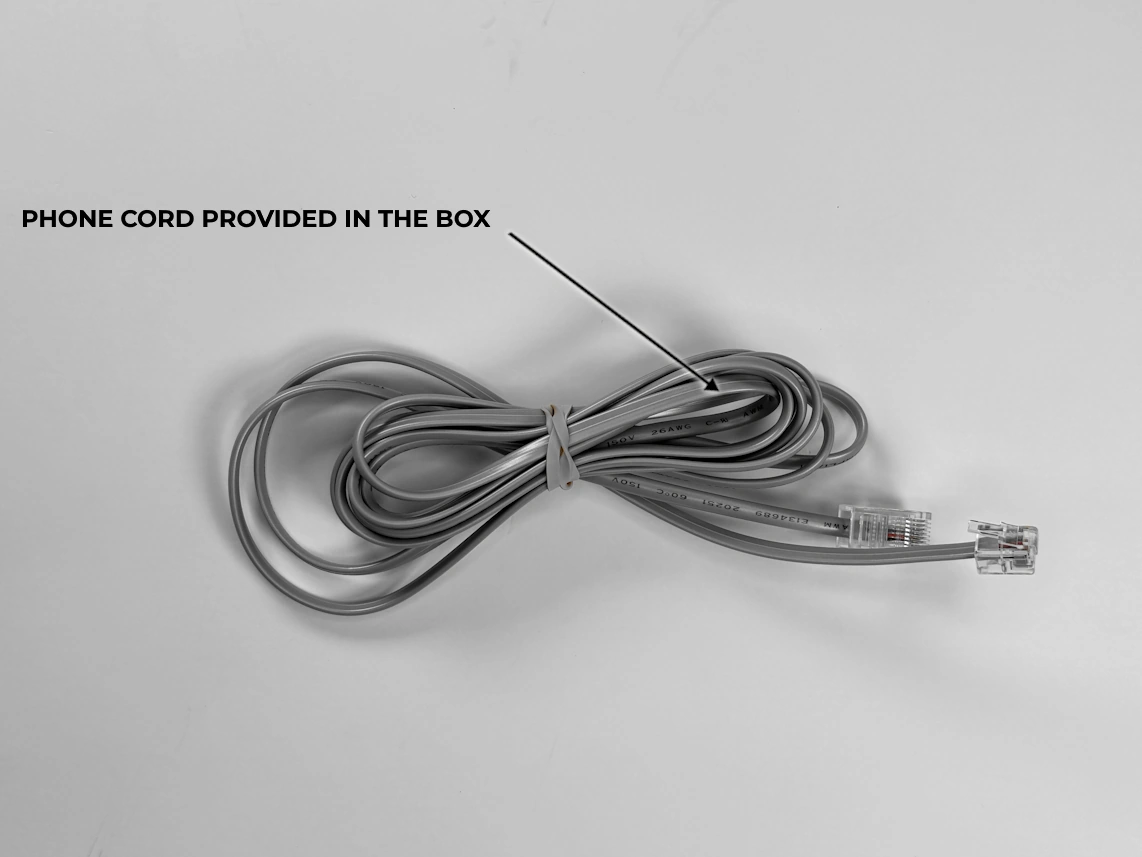
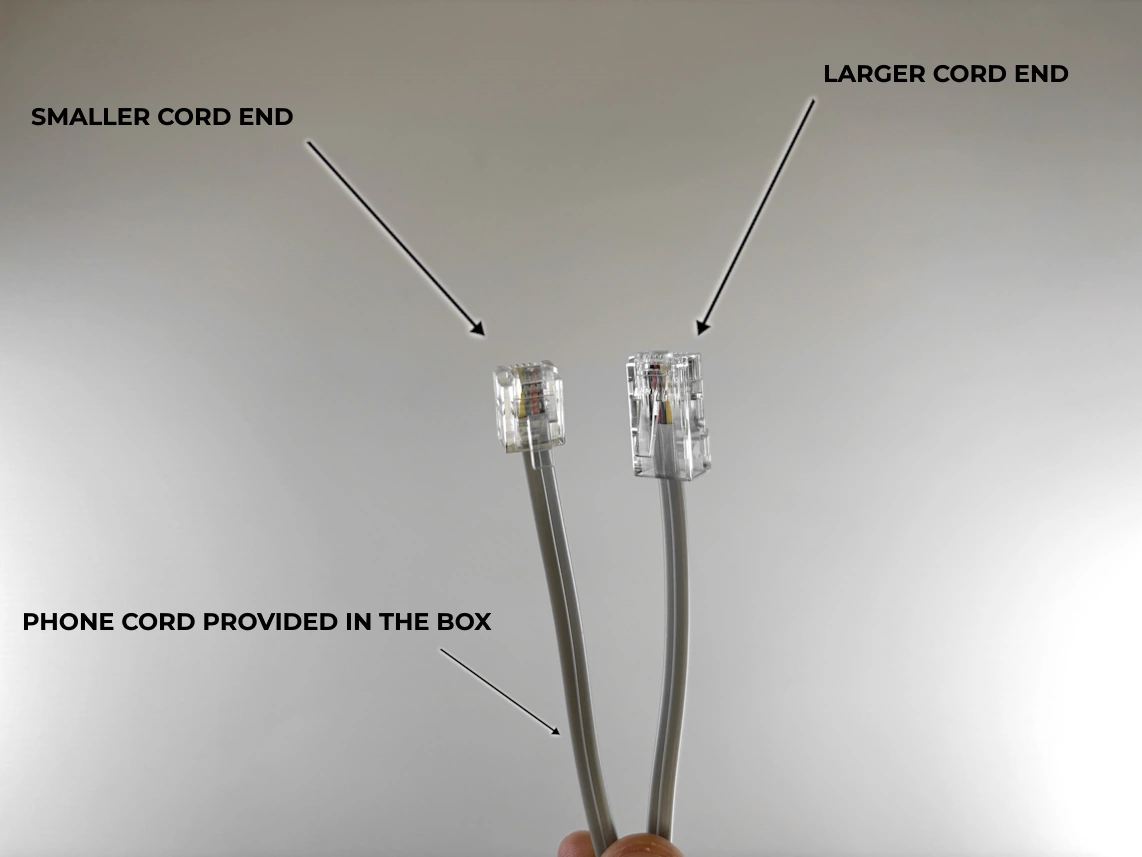
- • Unplug your landline phone cord from the wall jack. Grab the phone cord provided in the box and plug the larger end into the port on the base unit named “WALL”, and the smaller end into your wall jack.
- • Grab the phone cord you’ve just unplugged from the wall jack and plug it into the base unit port named “PHONE”.
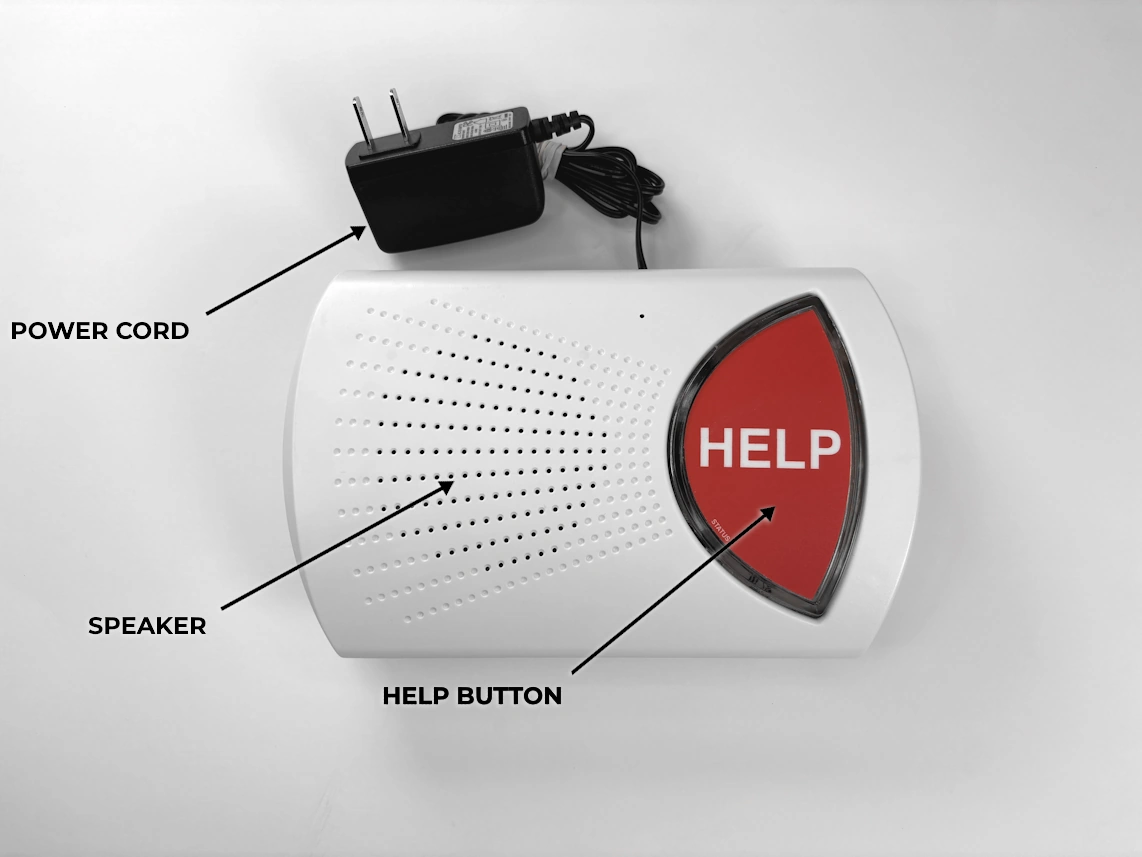
- • Finally, grab the power cord coming from the back of the base unit and plug it into an electrical socket.
Do not plug the unit into an outlet controlled by a lightswitch or that can otherwise be deactivated.
- • Your base unit should say “SYSTEMS READY” if everything is set up correctly. You should also see the light on the front of the base unit where it says “STATUS”.
- • If the light is green, everything is connected successfully. If the light is red, the device is not correctly connected. Repeat the previous four steps to ensure that everything is set up properly.
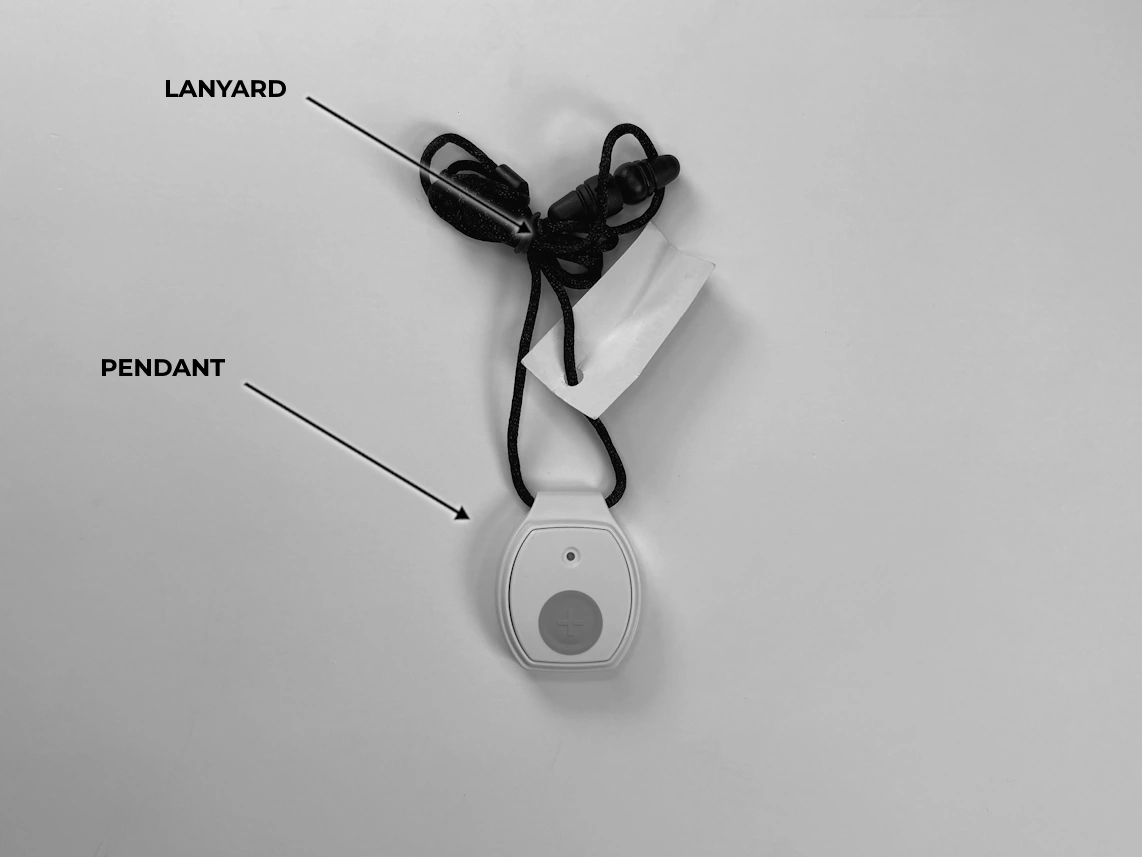
- • Once you see the green light where it says “STATUS”, it’s time to test your unit. Push the button on your pendant, and you’ll hear “CALLING FOR HELP” from the base unit several times.
- • Once the medical alert specialists are on the line, let them know that you are testing your new medical alert device.
2. Turning The Unit ON After Initial Setup
- • Plug into an electrical outlet. Unit will automatically turn on.
1. Device Call Testing
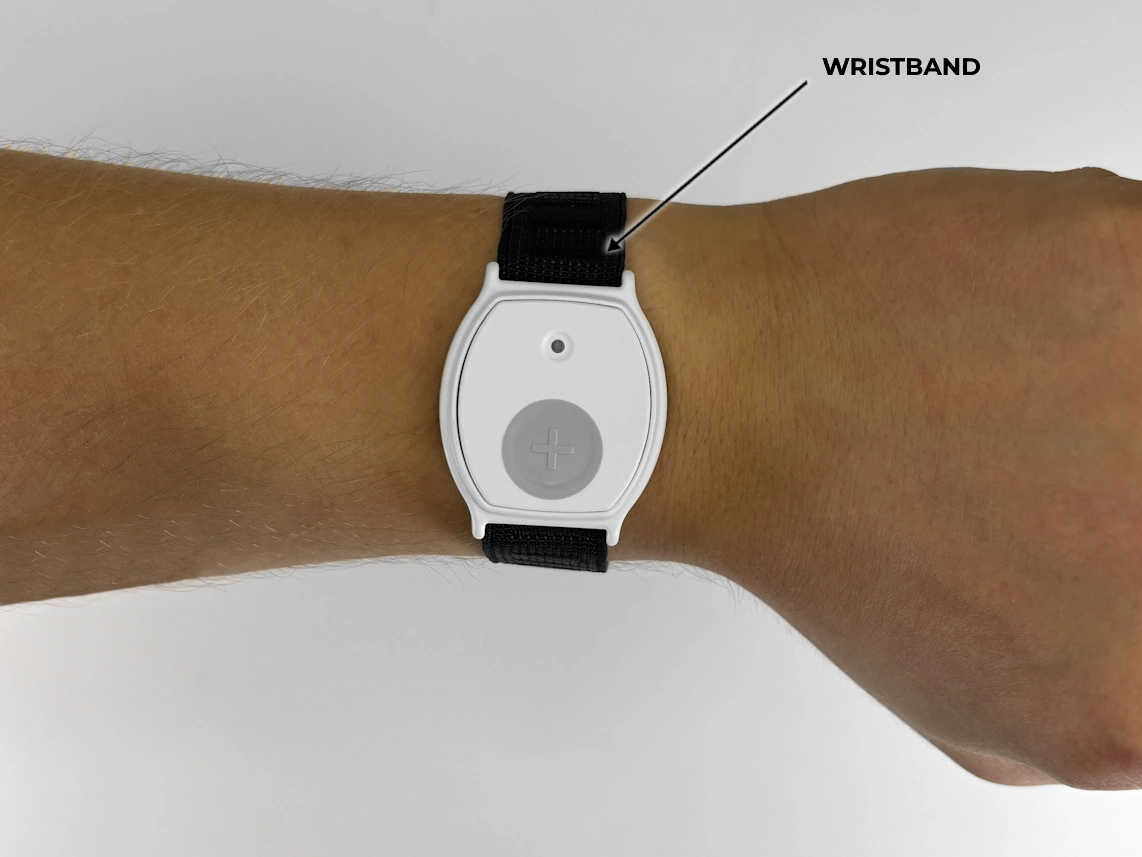
- • Push the button on your wrist strap or neck pendant. You will hear Calling For Help from the unit several times.
- • Once done, the Home Test Line will verify your address and let you know the signal has been received. Say your name aloud when prompted, and without picking up your phone.
Please test your device at least once a month!
.webp)
1. Placing A Call
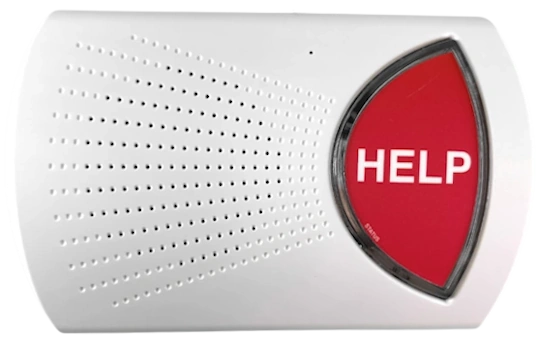
- • Press your wrist or neck button or the unit’s HELP button in the event of an emergency.
- • An operator will speak with you through the device’s speaker and ask if you require any assistance. If you are unable to respond to the operator, help will be dispatched to the address on file.
When your button is pressed, the light on your pendant will turn green to indicate that it is on.
2. Canceling A Call
- • If your device is activated accidentally, you can cancel the call with the operator. Simply let the operator know that the device was activated accidentally and there is no emergency. If you do not inform the operator, help will be dispatched.
Whenever the reset button is pressed, the unit will perform a self-diagnostic test. If working properly, the unit will revert back to “System Ready” status and is ready to transmit alarms.
1. Turning The Unit OFF
- • Unplug the power cube from the electrical outlet AND unplug the phone line.
- • Then press the T/L button 3 times. The unit will announce “Hold HELP to turn off.”
- • Press and hold the HELP button on the unit until the light on the edge of the unit next to the HELP button turns off.
1. How Fall Detection Works
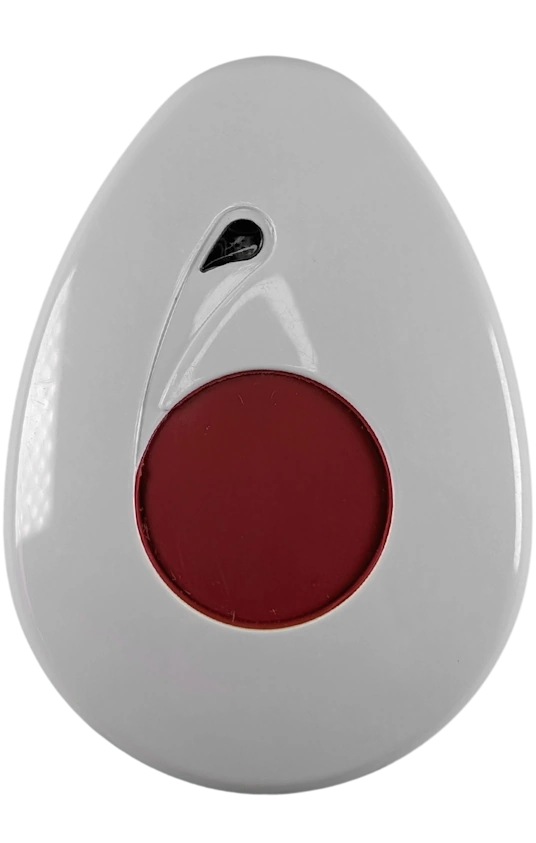
- • The Fall Detection Pendant will take a few seconds to interpret movement and determine if a fall has actually occurred. If the device determines that there has been a fall, it will send a signal to your device to contact the emergency response center. Remember, always push the button if able, as some falls may not be detected.
2. Canceling A False Alarm
- • When your device registers a fall, your device will announce “Calling For Help” just as if you had pressed the button. You can cancel the alarm by simply letting the operator know it was a false alarm or test.
- • You must explain that there is no emergency to the operator. If the operator does not hear from you, help will be dispatched as if there has been an emergency.
3. Testing Your Fall Detection Pendant
- • To test your fall detection pendant, simply press the button similarly to device call testing. If the device connects to an operator, the fall detection is active.
- • Like with device call testing, you must let the operator know that you are testing the device.
The Fall Detection Pendant will detect MOST falls. However, you should always press your button if you are able, as some falls may not be detectable.
| Light Status | What It Means | What To Do |
|---|---|---|
| Green Solid | Unit is ready | No action required |
| Green Blinking | AC power is not working, running on battery power | Check power source to make sure the unit is plugged into an outlet and check your phone line to make sure it is working properly |
| Orange Blinking | AC power is not working. Unit is running on battery power AND is not connected to an operating phone line | Check power source to make sure it’s plugged into a working wall outlet and check your phone line to make sure it is working properly |
| Red Solid | Alarm activated. Unit is calling emergency response center | Wait for an operator |
| Red Blinking | Not connected to an operating phone line | Make sure wires are secure and properly plugged into wall jack, modem and your unit. Light should turn green once adjusted |
- • The signal distance from the Fall Detection Pendant to the device depends on the size, construction and environment in and outside your home.
- • Wear your Fall Detection Pendant at chest level with the emergency button facing forward.
- • Your wrist and neck button are water resistant and should be worn in the bath or shower. However, do not wear your Fall Detection Pendant while swimming or in a pool.
- • During a power outage, the backup battery on the base unit will last up to 36 hours on a fully charged unit.
- • Cordless phone users must plug into the main base, not a satellite base. The base must be a minimum of 12” from the unit to prevent blocking of signals.
- • DSL users must have a DSL filter plugged into the phone jack that the unit will be plugged into. If you don’t have a DSL filter, you can get one from your phone service provider.
- • Please notify us if there are any changes to your address, phone number or emergency contacts.
Device Range Testing
- • You can test the range of your device to ensure it will work throughout your home. Have one person stay near the base unit while you test your neck or wrist button in different locations of your home.
- • The white T/L (Test/Learn) button is located on the back of your medical alarm unit. Press and release it one time. The unit will announce “Range Test Mode.”
- • Immediately press and hold your wrist or neck button. A steady tone will sound from the unit speaker as long as it detects that the button is being pressed.
- • Walk around the home while continuing to press and hold the wrist or neck button and check for the steady tone from the unit speaker. Check all areas of the home to make sure the signal is received. Take note of any “dead zones” in which the tone stops.
- • To finish the Range Test, release the wrist or neck button. Press the black RESET button on the back of the unit. The unit will announce, “System Ready.”